Start by scouring your fabric, if you do not scour the dye
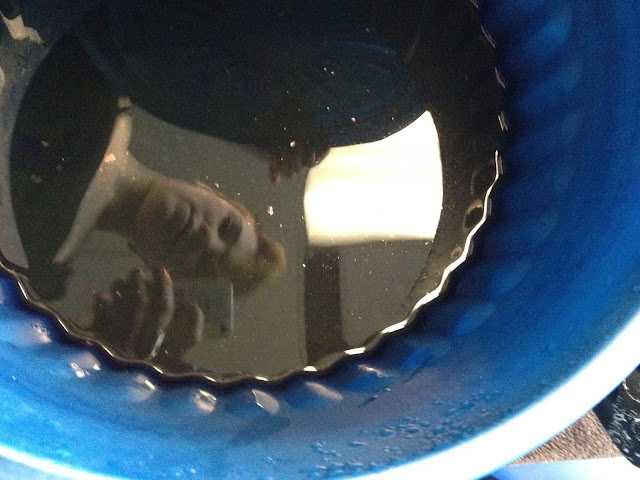
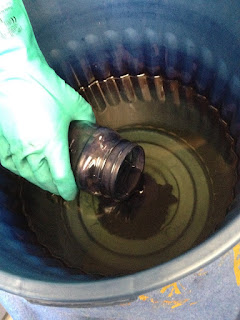
will not stain the fabric. Then you need to prepare your Indigo vat, I will
show you how to do this soon but the vat I used was prepared by my instructor.
We had a 6 tsp vat, which means we used 6 tsp of indigo to create the vat.
Next you need to prepare your fabric to dye. I stitched straight gathering stitches into
the fabric and pulled tightly. I wrapped the tails around and tied them to
insure the piece would not come loose in the dye.
Next you need to soak your piece in water and squeeze
tightly to get all the air out. Oxygen kills the dye vat so you need to be very
about air bubbles being created when stirring or putting in/taking out the
piece. Make sure you wear gloves! Be aware that if you hold it in one place you
will see your finger print, some people let it loose in the vat (hard to find without
creating bubbles) or tie a string to it and hangs it out (will see the string
mark on fabric).
(My sample is the long tube tied up, the other sample is a silk chiffon with marbles tied into it)
Carefully put the piece into the vat and carefully sway the
fabric in the vat. Don’t create bubbles. Leave it in for 3-10 minutes and
carefully remove the piece from the vat. I do this by pulling the piece up on
the side of the container and using my hand to stop any drips.
Leave it out to oxidize for 10 minutes. You should see the
piece change from a yellow green colour to a blue. You can then decide if you
want to dip in again to get a deeper colour or to leave it to dry.
If you decide to put it back in the vat, you do not need to
soak it in the water as it is already soaked.
If you decide the colour is perfect then leave it to dry for
24 hours. Then you will need to soak it in vinegar for approx. 10 minutes.
So you have just dyed the cover of your needle book, you can
do the lining at the same time if you wish. I used a simple raw cotton muslin. I
used a thin sheet of store bought felt to use inside the cover to give it
stability. I serged the felt to the wrong side of the cover and then place the
lining to the right side. Serge 3 sides and the corners of the last, only leave
a space large enough to turn right side. Turn and make sure the corners are
square. Press very well, and turn in seam allowance on open seam. Whip stitch
closed.
There you have your cover!
Now time to do your pages.
You will need wool (I used Corriedale), a piece of foam and
a needle felting needle. Lay the wool over the foam and stab the needle into it
repeatedly. The barbs on the needle felts the fibres with every stab. Keep lifting
and turning the fibres or you will felt it into the foam. Add more fibre to spot where necessary.
I then decided to shock my felted pages in hot water then in
cold. I did this 3 times and let them dry. I then used a finishing needle
felting needle and used it to clean up the loose hairs.
Trim down to the correct size of pages, and sew to cover.
I then decided that I need to add something to the cover so
I added some polyester lace to the front. I did this by small stitches and same
colour thread. I also though It needed a tie so I used a full embroidery thread
and a darning needle to create this. I went in through the lining but not the
cover and ran the thread through to outside of the cover. I could have sewn
this in to avoid the knot.
And here you go!!


